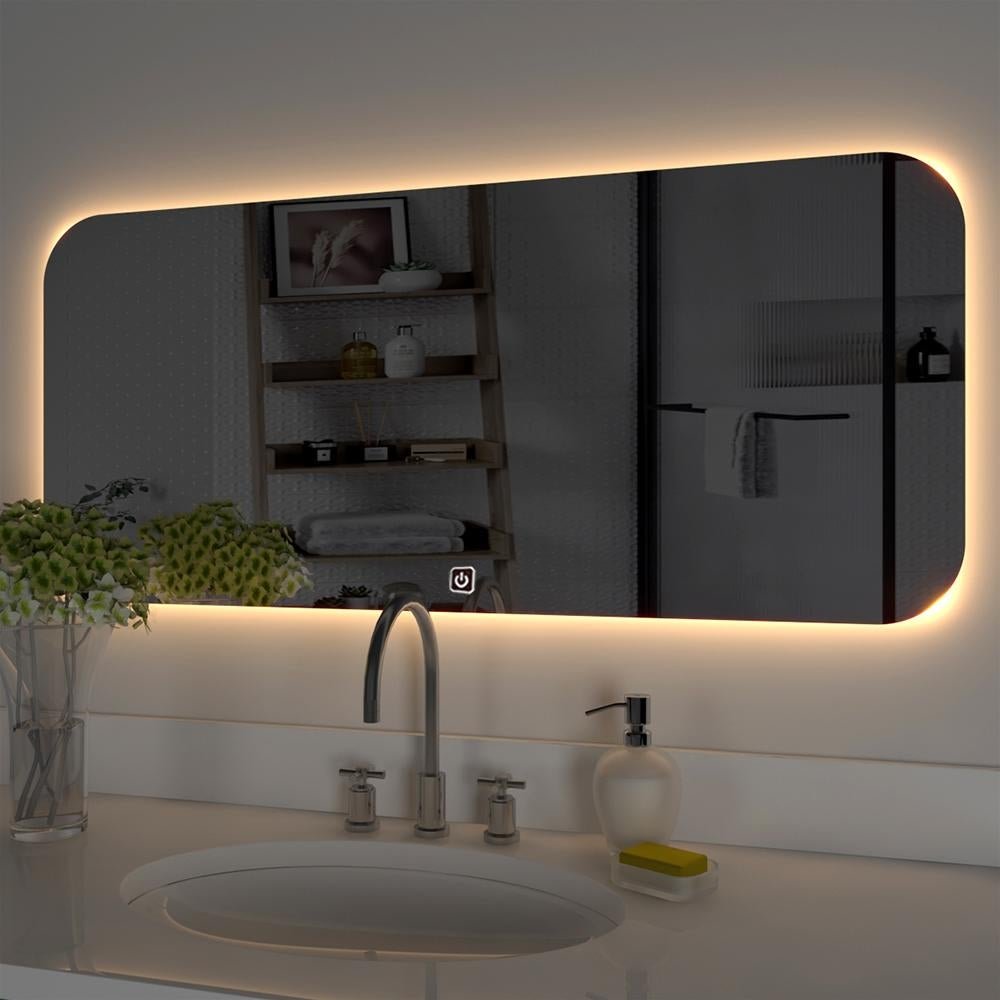
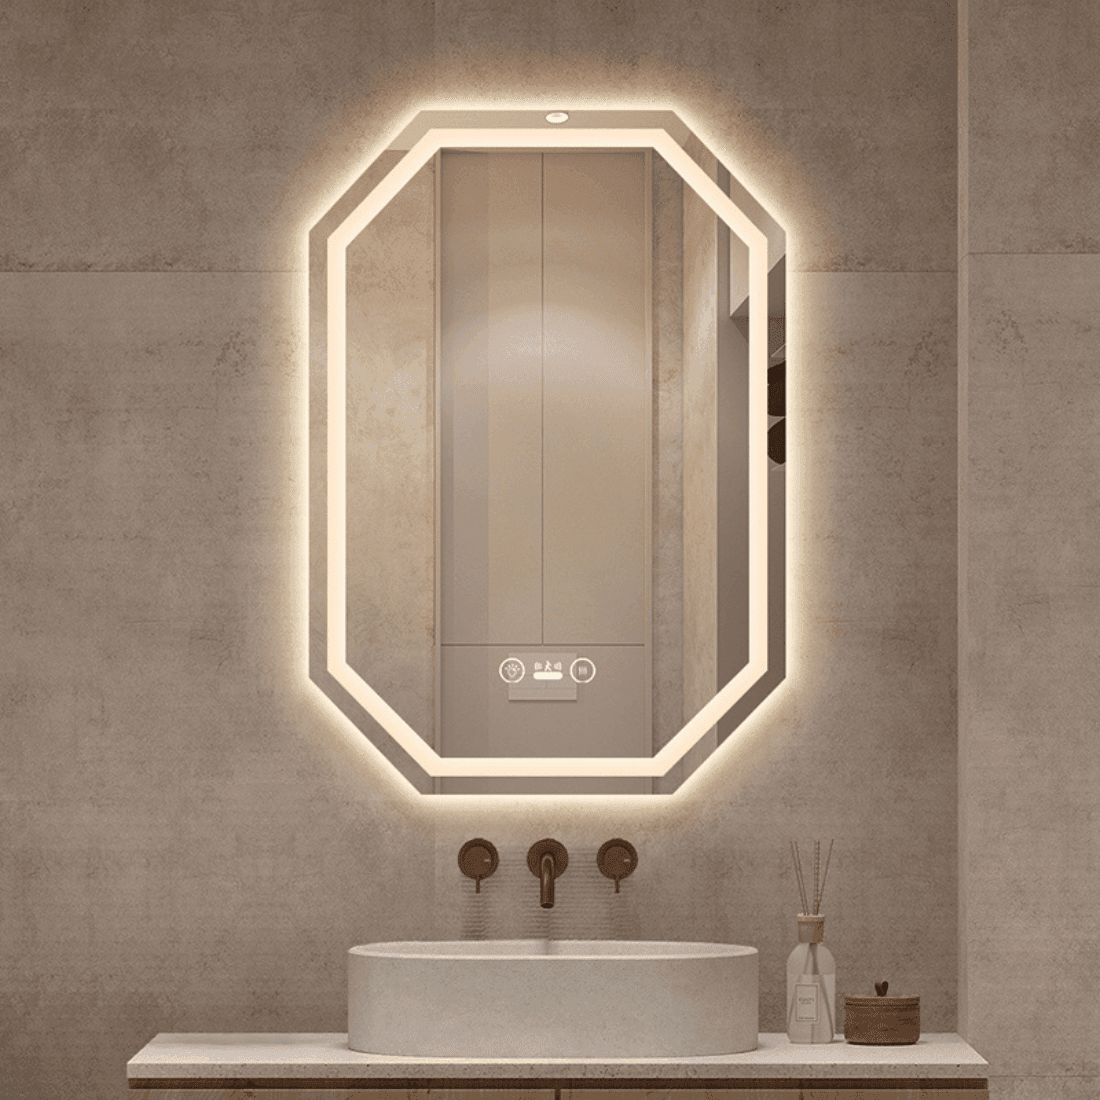
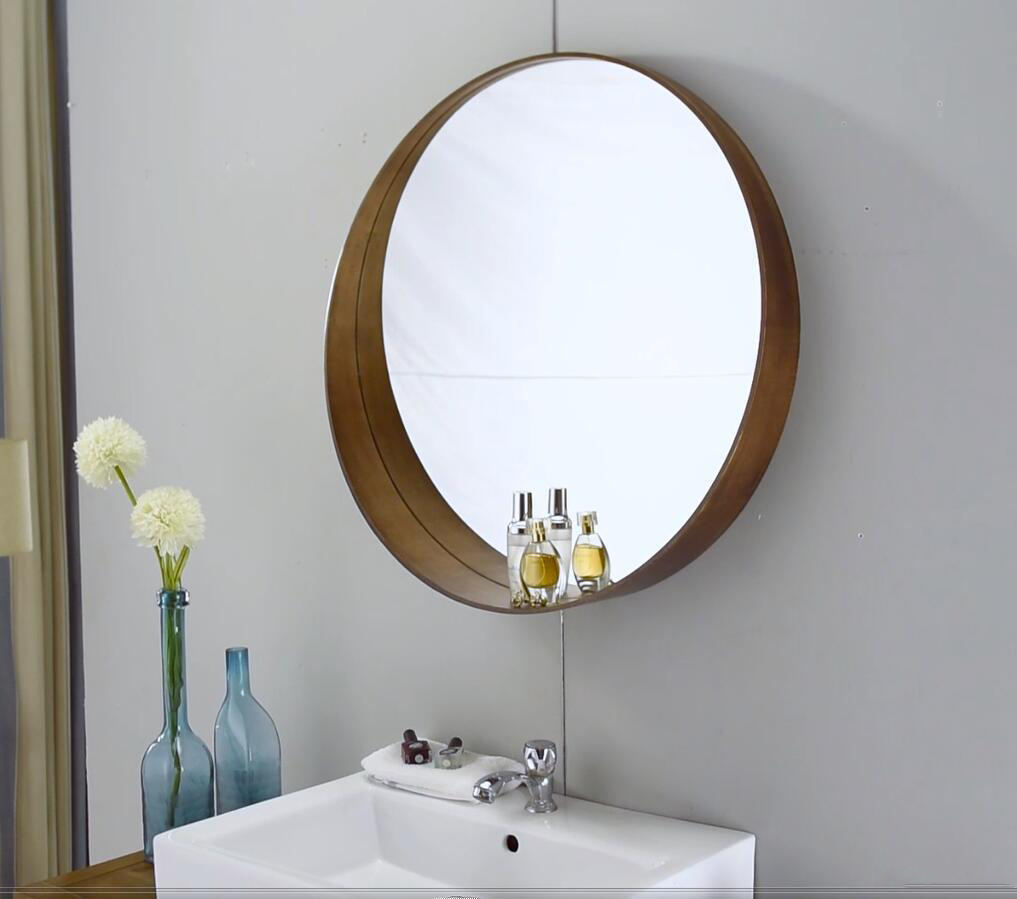
LED mirrors are a stylish and practical addition to any home, providing even lighting and a modern touch to any room. With their energy-efficient lighting and customizable options, LED mirrors are a popular choice for homeowners. However, the installation process for LED mirrors can be intimidating for those who are not familiar with electrical work. In this DIY installation guide for LED mirrors, we will walk you through the steps to safely and effectively install your LED mirror.
Materials Needed:
- LED Mirror
- Screwdriver
- Drill
- Measuring Tape
- Level
- Wire Strippers
- Electrical Tape
- Wall Anchors (if necessary)
- Mounting Bracket (if necessary)
Step 1: Choose the Location
Before you start the installation process, decide where you want to place your LED mirror. It’s important to choose a location that is easily accessible to an electrical outlet. If there is no electrical outlet nearby, you may need to hire a professional electrician to install one for you.
Step 2: Prepare the Wall
If your LED mirror comes with a mounting bracket, attach it to the wall using screws and a drill. Use a level to ensure that the bracket is straight. If the mirror does not come with a mounting bracket, use wall anchors and screws to attach it directly to the wall. Make sure the mirror is level before proceeding.
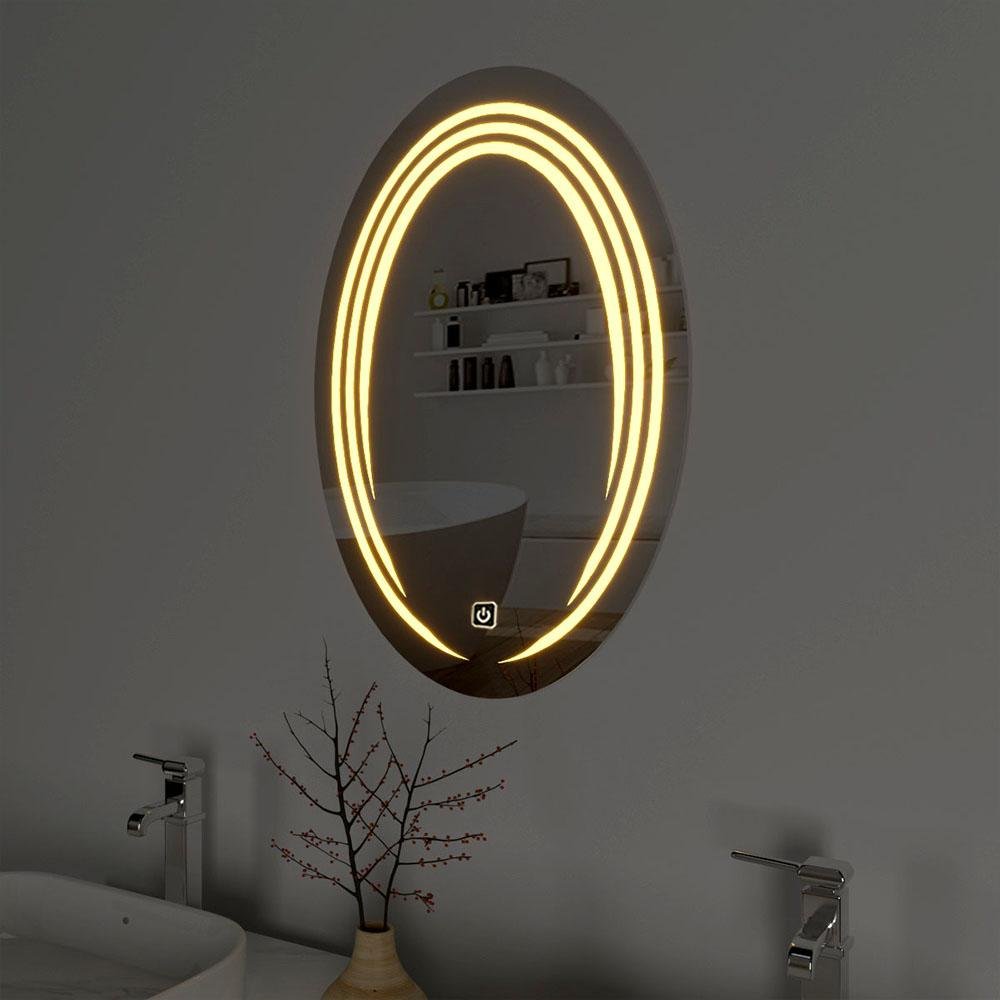
Step 3: Connect the Wiring
Before connecting the wiring, turn off the power supply to the electrical outlet where you will be plugging in the mirror. Use wire strippers to strip the insulation off the ends of the wires on both the mirror and the electrical cord. Connect the black wire to the black wire and the white wire to the white wire
https://ledmirror.in/product/round-hollywood-decor-wall-mounted-large-bath-mirrors-makeup-vanity-led-smart-mirror-for-home-led-light-strip-illuminated-cngua/
https://ledmirror.in/product/vertical-lines-led-mirror/
Shop now

